Back off squirrel, these acorns are mine
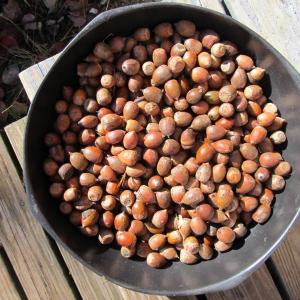
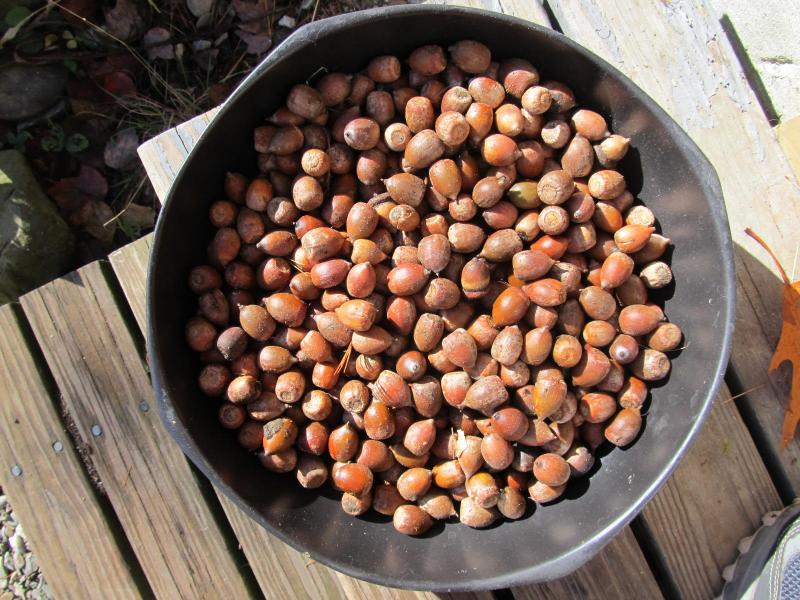 Approximately a gallon and a half of picked acorns. Photo by Kay Stephens
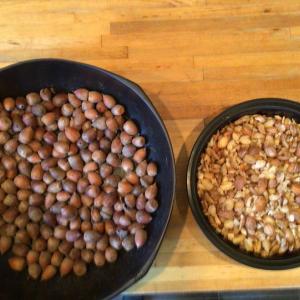
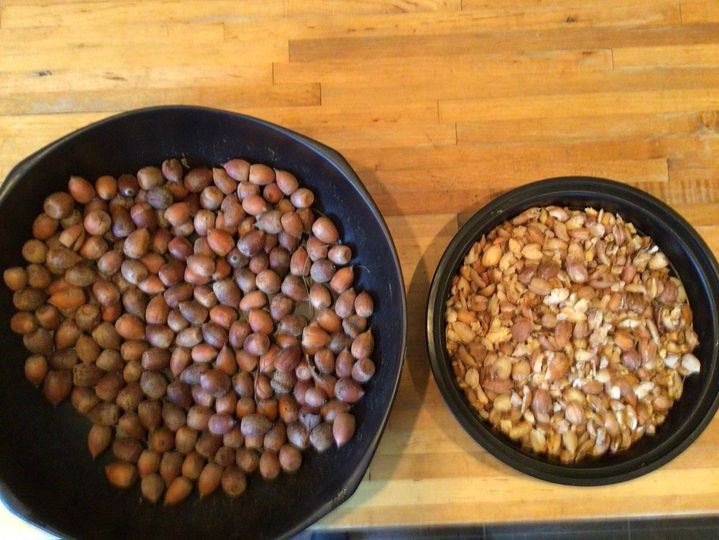 First wash and sort the acorns and then get crackin! Photo by Kay Stephens
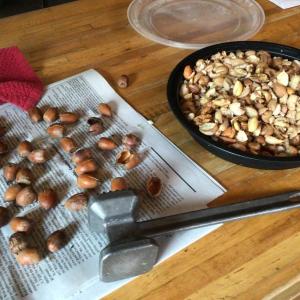
 I found out the hard way it was easier to crack them when they’d been steamed in a pan for about three minutes. Photo by Kay Stephens
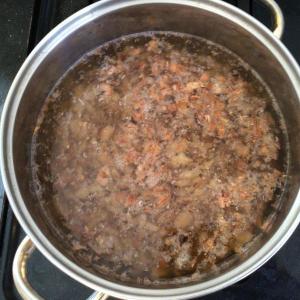
 The leeching took five hours. I repeat: five hours. Photo by Kay Stephens
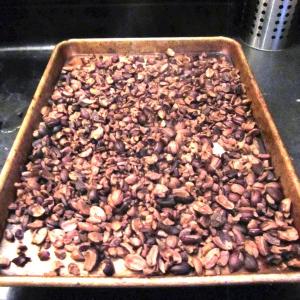
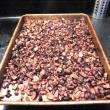
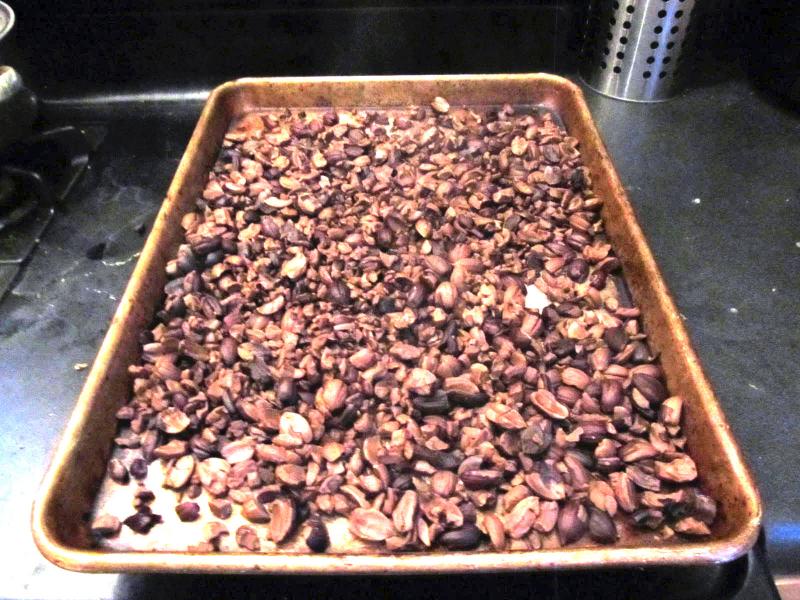 The dehydrated, leached acorns. Photo by Kay Stephens
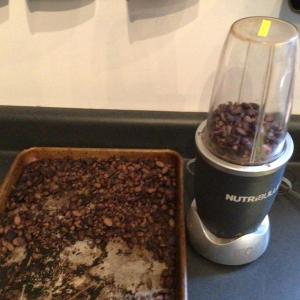
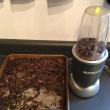
 Used my NutriBullet to fine grind the acorn meal into flour. Photo by Kay Stephens
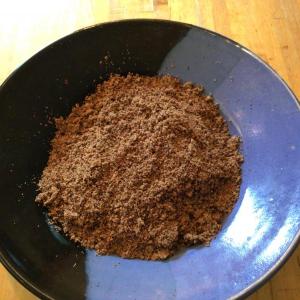
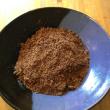
 Acorn flour. It only took three weeks to make. Photo by Kay Stephens
 Approximately a gallon and a half of picked acorns. Photo by Kay Stephens
 First wash and sort the acorns and then get crackin! Photo by Kay Stephens
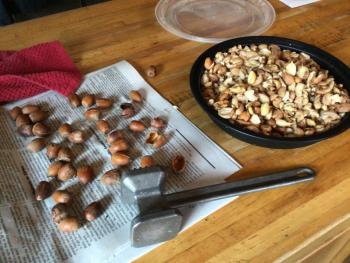 I found out the hard way it was easier to crack them when they’d been steamed in a pan for about three minutes. Photo by Kay Stephens
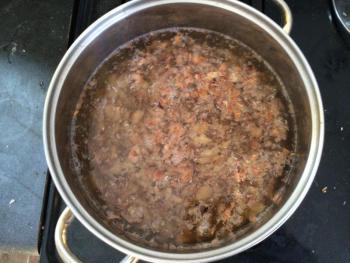 The leeching took five hours. I repeat: five hours. Photo by Kay Stephens
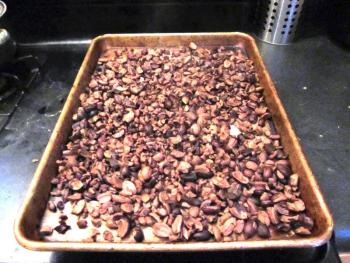 The dehydrated, leached acorns. Photo by Kay Stephens
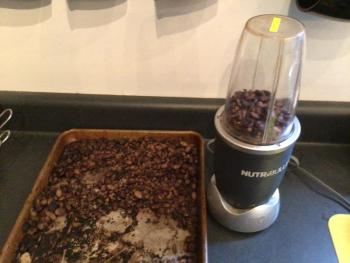 Used my NutriBullet to fine grind the acorn meal into flour. Photo by Kay Stephens
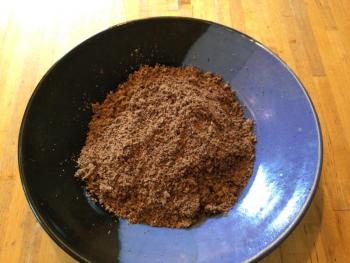 Acorn flour. It only took three weeks to make. Photo by Kay Stephens
In an opinion column this past summer, I made an off-hand crack about urban dwellers wanting to come to Maine to escape the pandemic and get all cottage core, e.g., ditch the high-priced restaurants they could no longer go to and start rooting in the dirt for fiddleheads now that they were “back to the landers.”
Well, after living in the Midcoast for 27 years, I got all cottage core recently. In the past, I’ve made hard cider and dandelion wine from scratch, planted a cocktail herb garden, pilfered tomatoes from a public garden (that were going to rot on the ground, anyway) and made a killer vodka sauce. I thought it was time to make use of all of those black oak acorns out in the yard, free for the taking. Why not?
Truth be told, it was wild food gatherer and author Euell Gibbons and his supreme field guides, Stalking The Wild Asparagus and Stalking the Blue-Eyed Scallop, that inspired this latest kick.
The Gathering
Hunching down and sifting through all of the acorns I could find, I then crab-walked around to find more. That movement sent a signal from my lower back to my brain that said: “Yup. That’s gonna hurt tomorrow.” But I couldn’t help it. Once I started collecting them, I became a little obsessive. I left the darker brown ones and split ones alone, for the nut was likely to be spoiled by weevils. After perusing some blogs, I discovered that procuring about a gallon of acorns would yield a fair amount of acorn flour.
Get Cracking
Anytime you try something new for the first time, there’s a 99.9% chance you will not have the right equipment for it. The purists recommend a Davebilt #43 Nutcracker. But that’s $175 I don’t have laying around.
First, I tried cracking each acorn with a nutcracker. That was a laborious process. Then, checking some online tutorials, all I needed was a meat tenderizing mallet, a clean section of newspaper, and the desire to slam those things inside the folded newspaper like Whac-A-Mole.
I learned, after trial and error, an even easier way was to roast the acorns in a pan for about three minutes and then hit them with the mallet afterward; the nut popped right out of the shell. It was sort of cathartic until it got real tedious.
If I were a pioneer woman and had eight children doing all that nut-cracking, I can see why this might have been a popular pastime in the days of yore. I didn’t get through an entire batch at once; I’d get crackin’ when I had time, so all in all, this process took two weeks.
Pro-tip, keep the shelled nuts in a Tupperware container in the refrigerator until you can get through the entire process.
Leeching Out The Tannins
You could go down the rabbit hole of the various ways to leech out tannins: There are hot and cold methods, and even a super hippie stream leeching technique, but I went with Gibbons’s method which, he claims takes about two hours.
Fill a large pot with water and get up to boiling; add the peeled, dried acorns. Get that pot boiling and start a second pot on the boil.
When the acorn water turns “tea colored,” according to Gibbons, drain the acorns and without rinsing, immediate place into the second pot of boiling water. Keep going until the water finally clears and the nuts look chocolate brown.
When you taste one, there should be no bitterness left. With black oak, the tannins are higher and it takes more time to leach. Little did I know, I’d be standing in front of that stove for five straight hours. FIVE hours doing this.
Drying Out
Since many of the cracked nuts still have the “testa”, the skin on them that needs to be removed, natural food bloggers recommend laying the nuts out on a cookie sheet and dehydrating with a dehydrator or placing it in the oven on warm in order to shrink the nuts and allow the testa to be easily removed.
We had a wood stove going, so I opted to set the cookie sheet next to the stove and let it do its work all night.
Grinding the Nuts
Finally, once the nuts were dried, it was time to grind. You can process them in a food processor or coffee grinder until it ends up into a fine powder or flour. I chose to use my NutriBullet.
Then, allow the flour to dry by the woodstove for another four hours.
Store the flour in Tupperware or a Mason jar in a dark corner of your kitchen cabinet and now you have acorn flour to make bread. How to make acorn bread? That’s a whole other tutorial right here.
After one hour of gathering, two weeks of cracking, five hours of leaching, and 28 hours of dehydrating, I thought to myself: “I’d better be starving like Scarlett O’Hara gnawing on the hind end of a dirt-covered turnip before I try something like this again.”
My friends made fun of me for a solid week—until they lost interest in my continued labor over the acorn flour.
It’s trial and error; you don’t try something for the first time and have it come out perfectly right. For now, it’s just one more cottage core skill to tuck under my belt. And now I just want to slap myself silly for saying that.
Kay Stephens can be reached at news@penbaypilot.com
Event Date
Address
United States

